Firmware Burning for SML-5041 STB
This guide is designed for the SmartLabs SML-5041 series of set-top boxes powered by the Amlogic S905X SoC.
- Install the Amlogic USB Burning Tool v2.1.2 (ABT) on your computer and run it (confirm Windows UAC warning if needed).
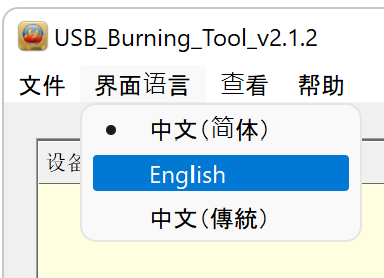
- If ABT started using Chinese, select English (second item from the left in the pull-down menu).
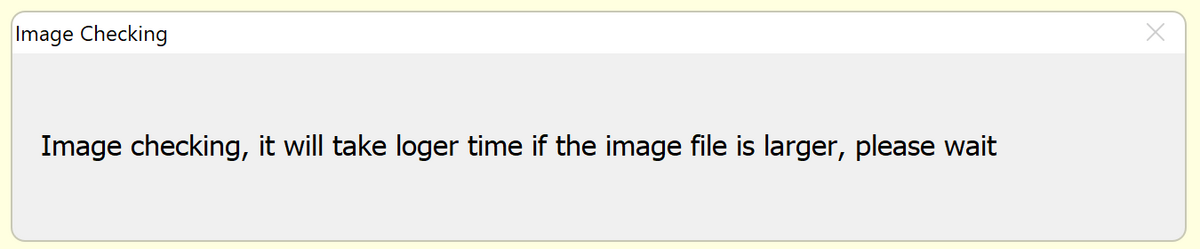
- Load the firmware image (the .img file). The ABT will check it for correctness.
 >
> 
|
Strictly follow the sequence of steps 4–6 and 11–13! |
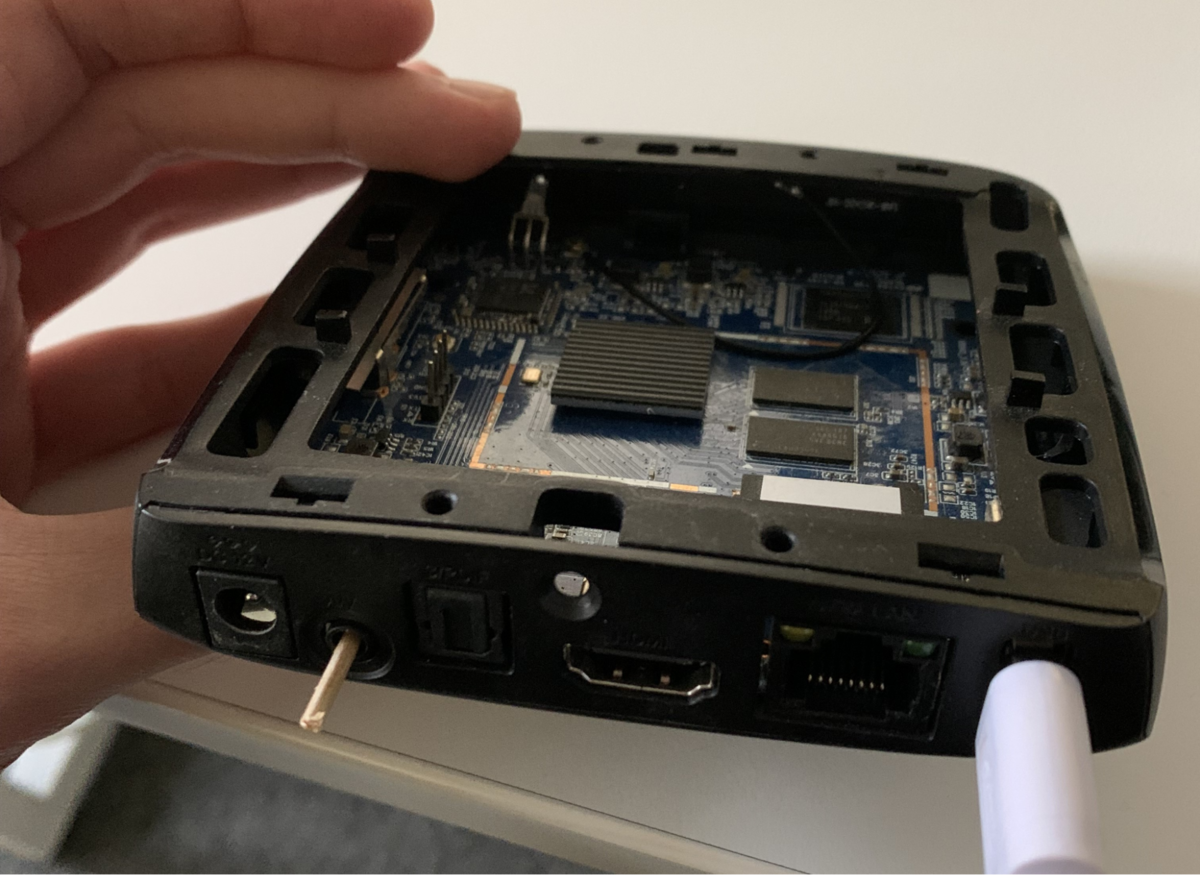
- Press and hold the reset button located on the STB back panel inside the AV jack (e.g., with a toothpick). Do not release it until Step 8!
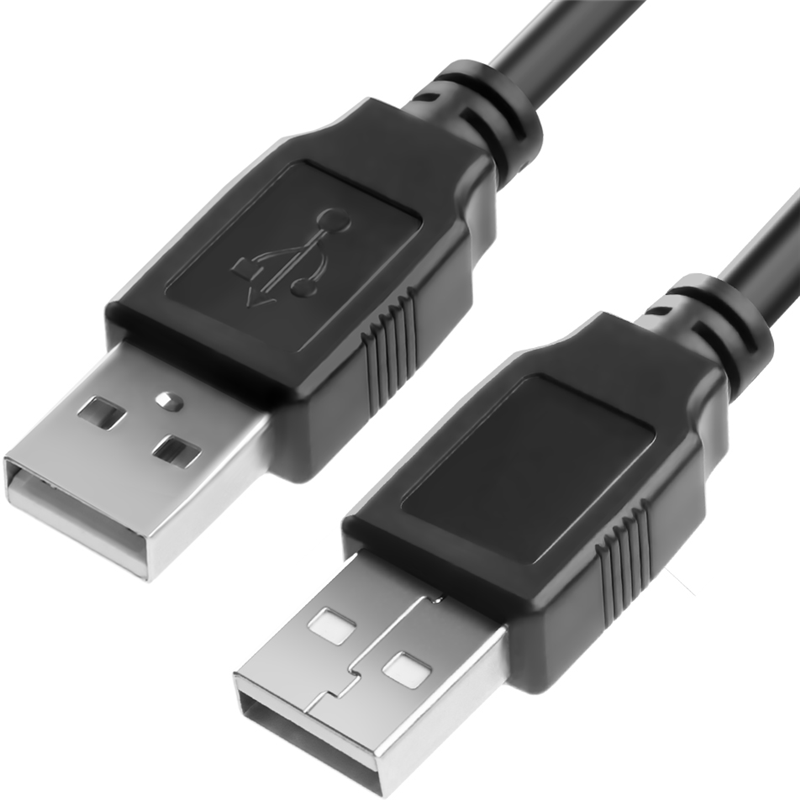
- Connect STB to your computer with the USB-A <-> USB-A cable.
- Connect the power adapter to STB.
- In 5 seconds, the “Connect success” message should appear in the ABT window:
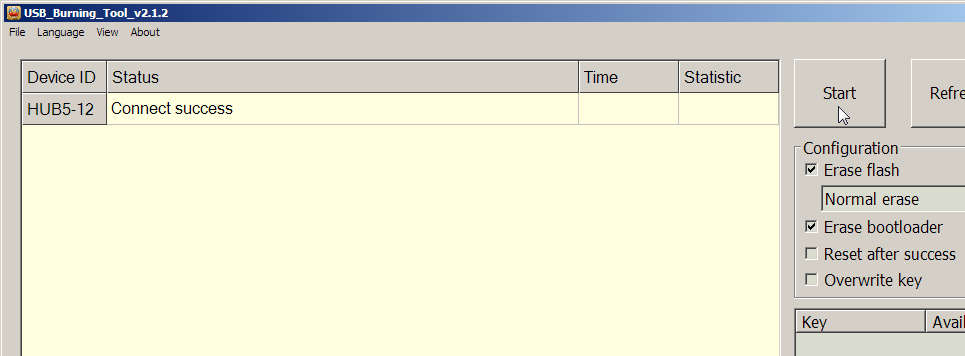
If nothing happened and you do not see the connection, obviously the STB bootloader is blocked. So you can try connecting to STB via UART from this step. - Release the reset button.
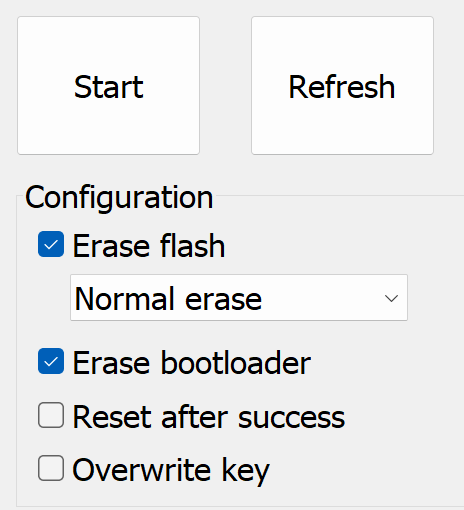
- Leave the Erase flash = Normal erase and Erase bootloader checkboxes in the Configuration section.
|
Please make sure that the Reset after success and Overwrite key options are NOT checked! |
- Press Start. The burning process should begin.
- After the firmware burning process is successfully completed, press Stop.

- Disconnect the USB cable from STB.
- Disconnect the power adapter from STB.
Now you can turn STB on and STB will load with flashed firmware.
IF THE STB BOOTLOADER IS BLOCKED
In this case, you can try to burn the STB firmware via the UART connection.
- Disconnect STB from the power adapter and do not close the ABT.
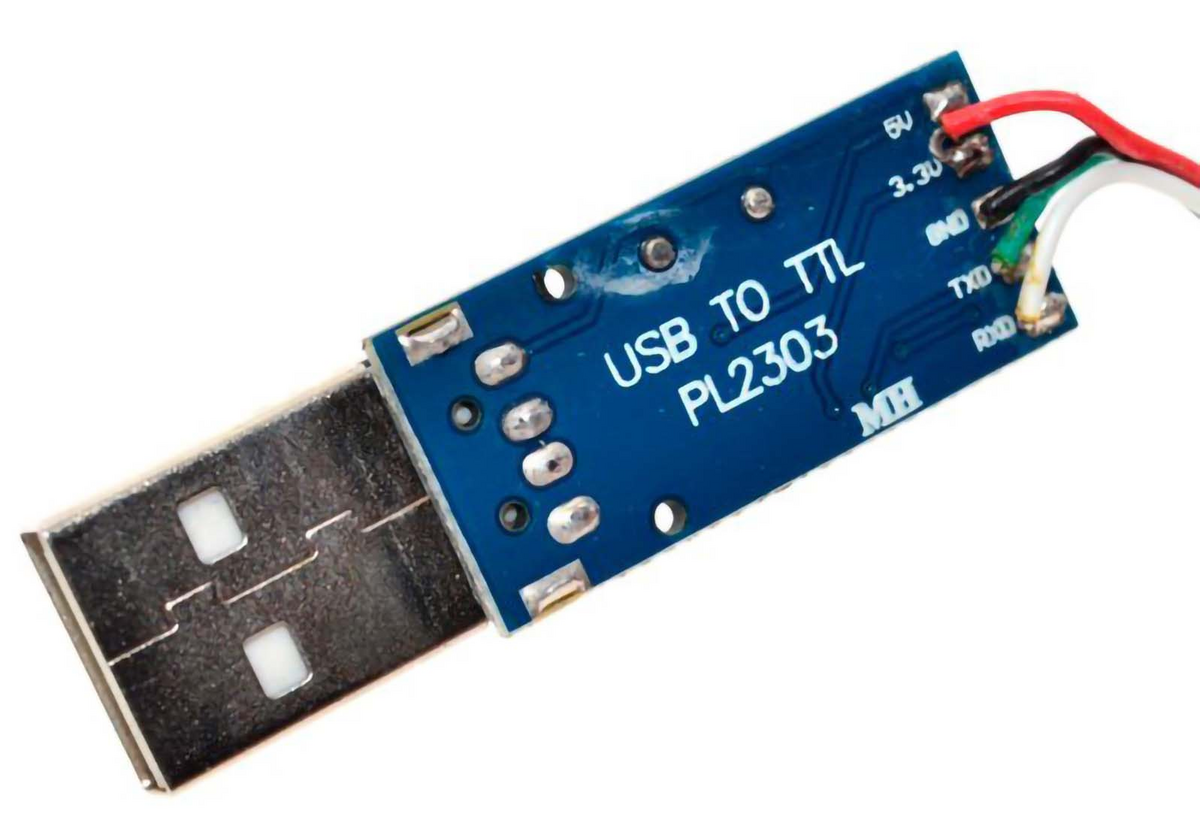
- Connect the STB to a computer via UART using the USB <-> UART adapter (purchased separately).Please make sure that the adapter terminals RX, TX and GND are properly connected to the corresponding terminals on the set-top box PCB. DoNOT connect the power terminal (3.3V, 5V, VCC, etc.)!
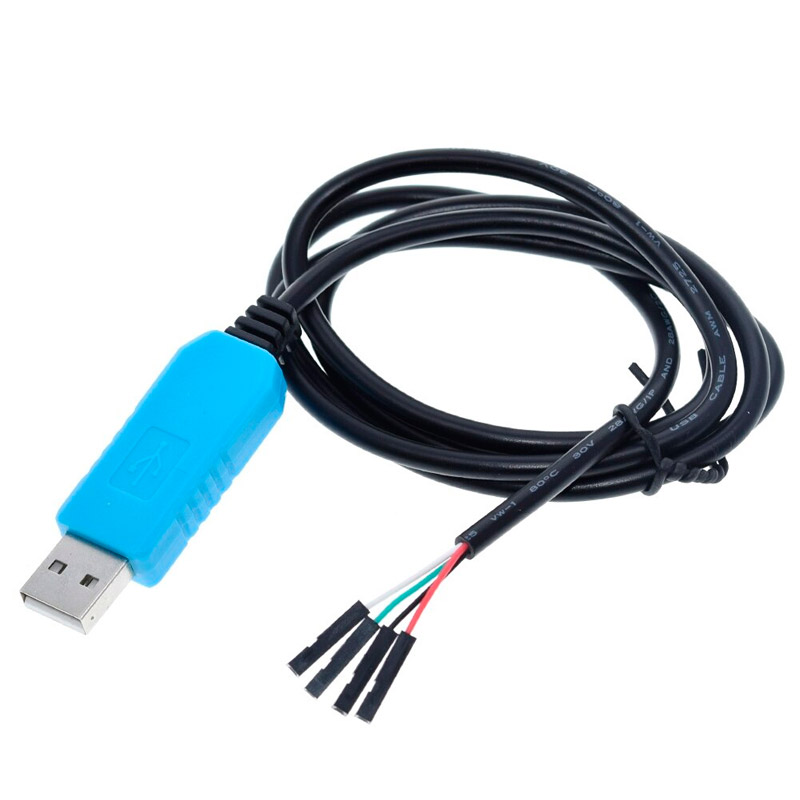
USB <-> UART adapter appearance
Internal view with the UART terminals
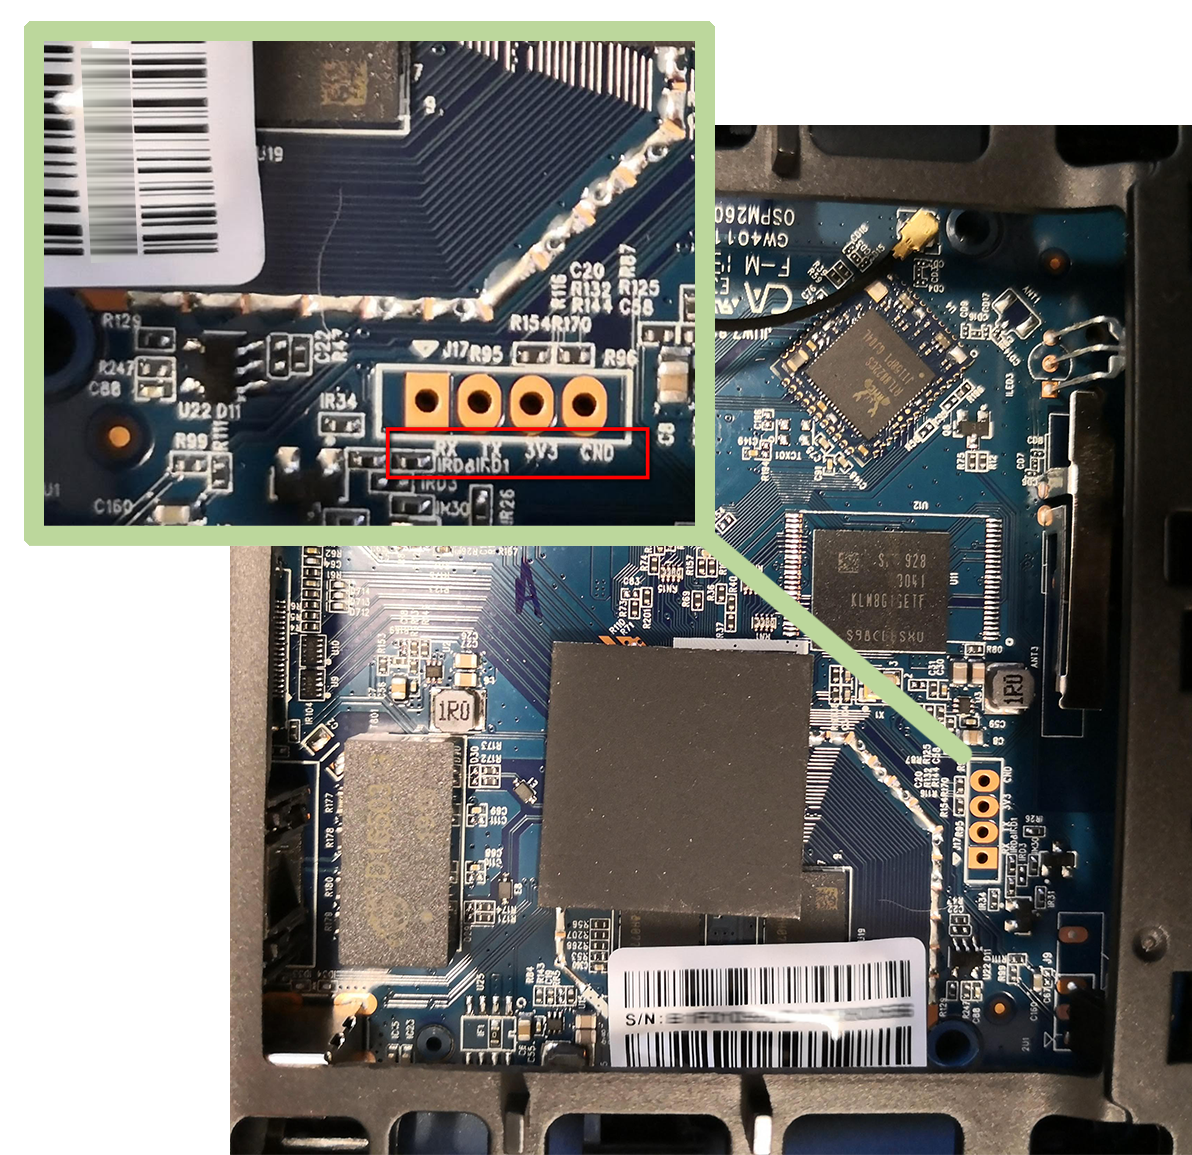
Set-top box PCB with the UART terminals
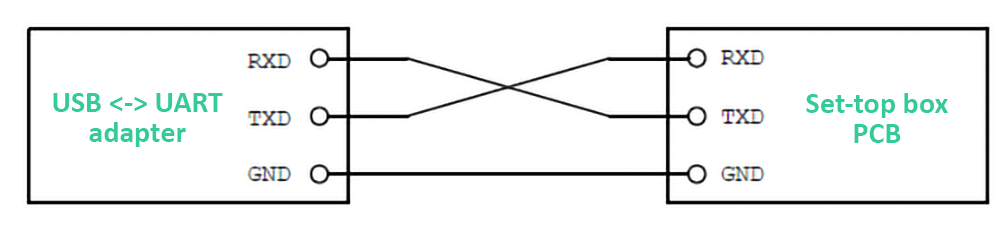
Connection diagram
|
Read on how to connect to STB via UART without soldering. |
- Open the Device Manager (Windows) and find out the number of COM port to which your USB-UART adapter is connected.
- Open the putty (Windows). Set the
– Connection type = Serial,
– Serial line = found COM port, and
– Speed = 115200.
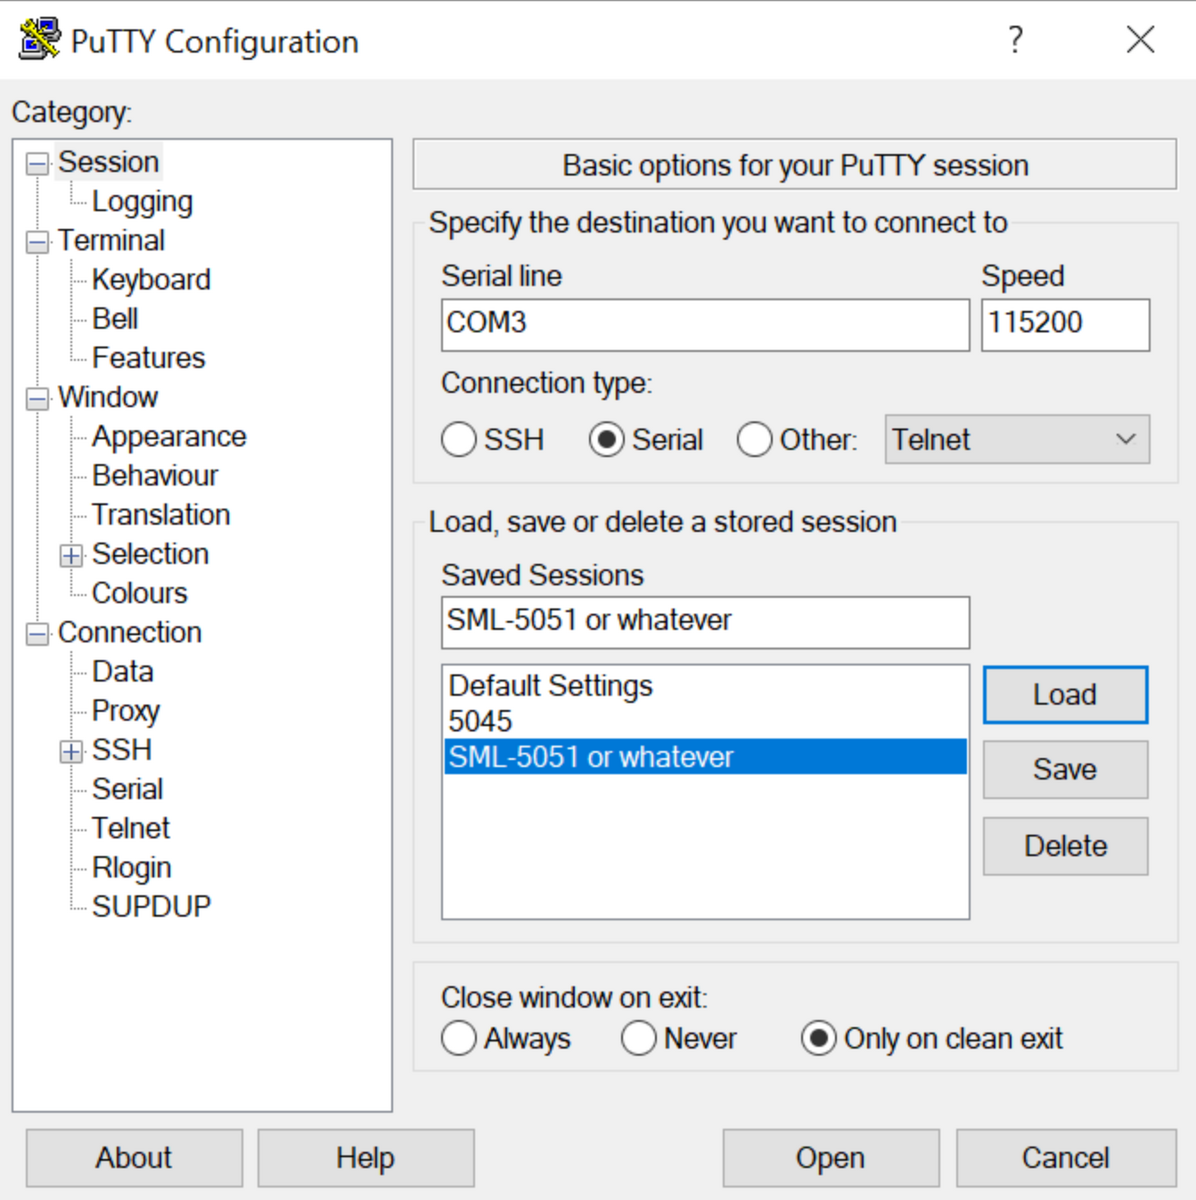
- Press Open. The terminal window should open.
- Connect the power adapter to STB. Terminal should display the STB loading process.
- Press Ctrl+C on the U-Boot stage.
- Send the log to the SmartLabs Support Team with a request of password.
- Enter the password you received.
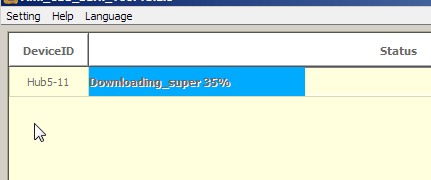
- Input the update command.
- Now the connection should appear in the ABT window.
- Continue the firmware burning process from the Step 9.
|
After successful burning and loading, if STB have no keys, the service menu may load. You can disable it by pressing the reset button inside the AV connector. |