Renaming Stream Quality Labels in SmartTUBE Apps
SmartTUBE apps support adaptive bitrate streaming and allow the user to change video quality manually. You can do this with the Video quality menu while watching a TV channel or movie:
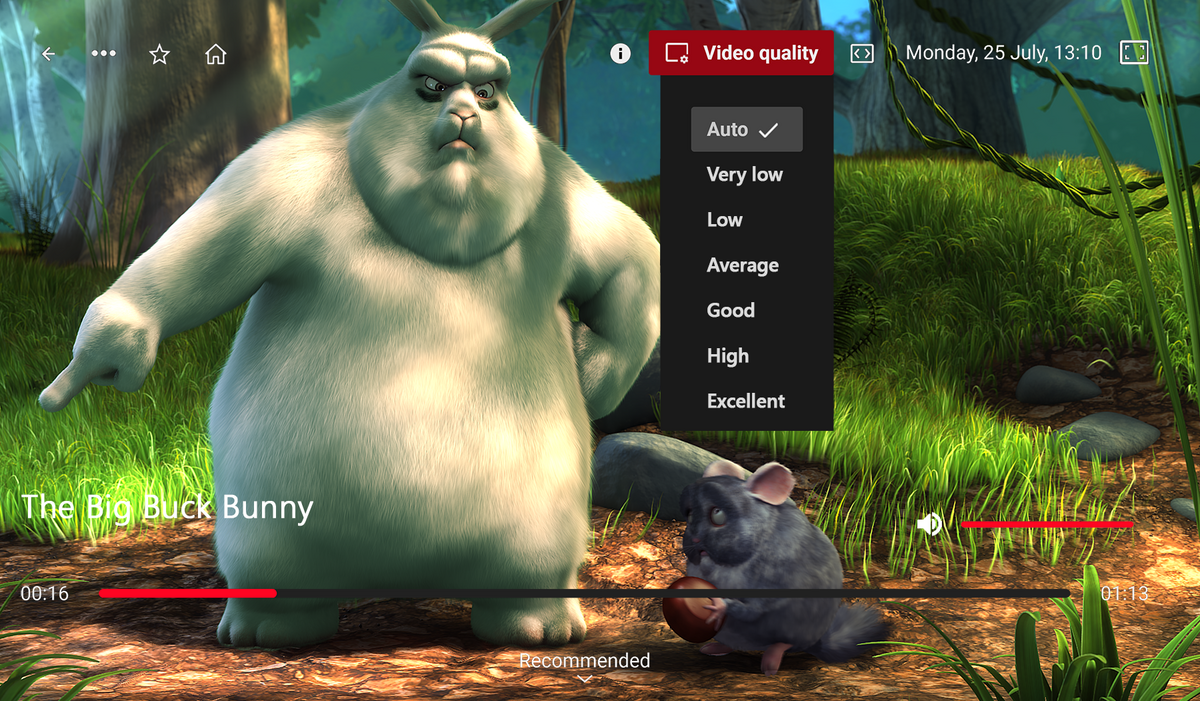
But how to manage this menu? Let’s figure it out.
1. Specify the bitrate ranges (or video quality levels)
Add the parameters below to the configuration file setup.json located on the client device in the SmartTUBE application directory. If you are using the SmartTUBE Device Manager to manage client device configurations, you can update setup.json with this tool (see instructions here).
|
{ “player”: { “adaptiveChannelsBitrateIntervals”: { // Specifying the video quality ranges for channels depending on the stream bitrate variants. “average”: [ // ID of the bitrate range. Allowable values: VERY_LOW, LOW, AVERAGE, GOOD, HIGH, EXCELLENT. }, } } |
2. Assign names to the bitrate ranges
Now you can give names to the created ranges using Crowdin. If you don’t have access to this service yet, please contact the SmartLabs Support Team.
Crowdin allows you to localize the SmartTUBE Client UI into several languages. All changes you have made will be implemented in the next build of the SmartTUBE Client app.
Optional Features
1. Overwrite the range names for all UI languages at once
For example, you can rewrite the range name Excellent as 2160p.
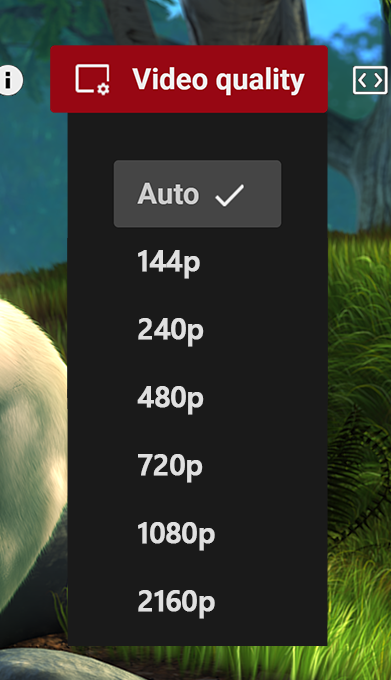
Just add the following parameters to setup.json:
|
{ “player”: { “enableQualityLabelOverride”: true, // Flag to enable the overwriting bitrate range names described in the adaptiveChannelsBitrateIntervals and adaptiveVoDBitrateIntervals sections. “qualityAliases”: { // Rules of overwriting bitrate range names described in the adaptiveChannelsBitrateIntervals and adaptiveVoDBitrateIntervals sections. |
2. Add special labels
You can add small text labels for some ranges to make them easier to understand:

To do this, add the following parameters to the setup.json:
|
{ “player”: { “qualityListAbbr”: { “720p”: “HD”, |